
I know you LOVE my templates (well I guess I don't KNOW... but why would you be here if you didn't!). I have also heard that you want to see how to put them all together? So I am going to try to release some tutorials. I am calling it Tutorial Tuesday but there is NO promises it will happen weekly!
So for this week I have for you... a tutorial on putting together the back pack! Just in time for Back to School!
Here is the preview of the product(s) in the store. There is a backpack template as well as a ready to print backpack using Explore. Learn. Grow from Sahlin Studio.
With the backpack template you need to add your papers and elements to the template. Hybrid templates work just like regular scrapbooking templates or paper templates. All of my templates come in PSD, PNG, TIFF (newer ones), and PDF.
I am also starting to add cutting files as well with many templates, that will increase as I learn more about using the machine too!
So once you have attached your papers to the template (or have opened your pre-prepared items) you will need to print everything out. With all of my templates I include a hybrid/printing tip list - please read it! You can also check out Hybrid Bootcamp over at ScrapMatters. One thing I want to make sure you do is to reduce the opacity (or change the color) of the fold and cut lines.
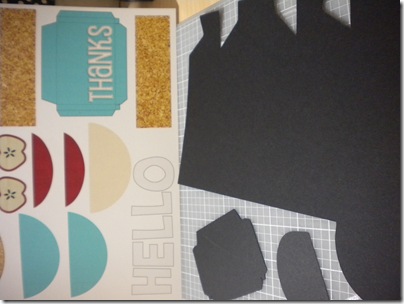
So here are my things printed (I actually cut the base of my backpack out with the Cricut - there is NOT a cutting file in the download... I was trying something out!)
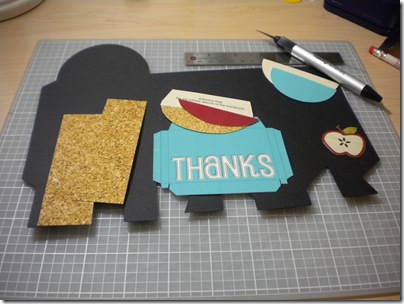
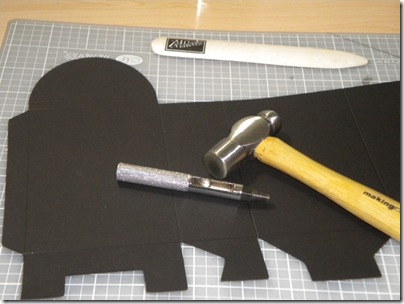
Then I cut out everything (I use an exacto knife and a metal edged ruler):
Then I scored the lines (in this case... I guessed - which is why there is not a cutting file yet. I need more practice with having the machine cut folding guides on the templates).
Once scored I punched the holes for the eyelets where my ribbons were going to go through.
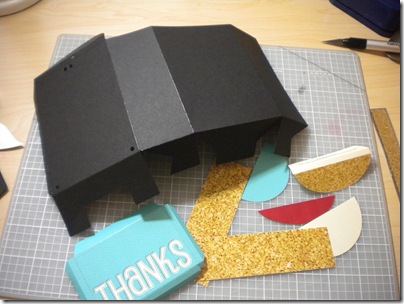
Then actually go through and fold all the parts - it never fails I forget to score something - you want to find that out before you start putting adhesive on!
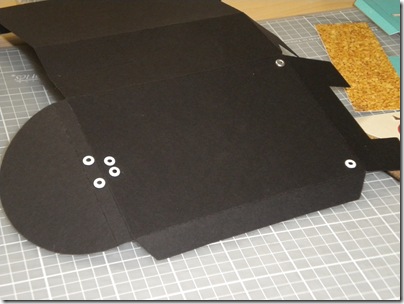
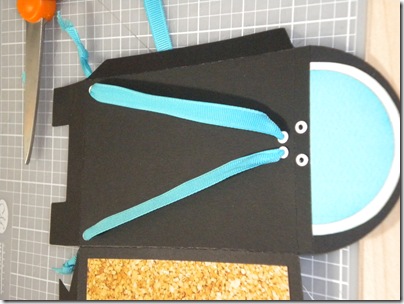
Next I put the eyelets through the holes I punched (don't look to carefully as I messed up and used one silver one... I said don't look!)
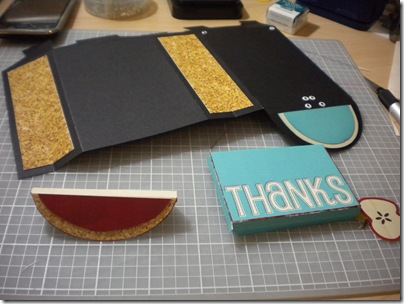
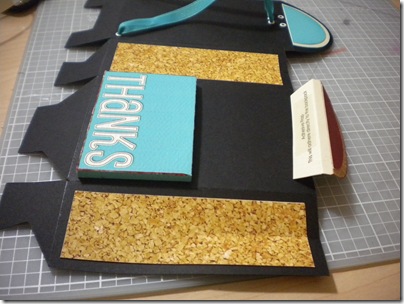
Now start putting the pieces together. I started with what went right on the backpack, then went on to the front pocket after I had the ribbon on.
Here you can see the ribbon - I just tied a knot on the inside bottoms - you could have it feed through the top as well but I did not think of that until after!
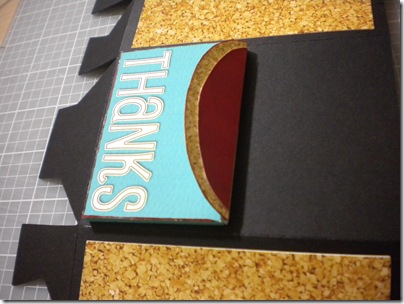
Then attach the front pocket - I did pocket first then flap but you can do it either way - just be sure if you put the flap on first that is in the right spot first! (and as you can see I forgot the top ribbon before I moved on.)
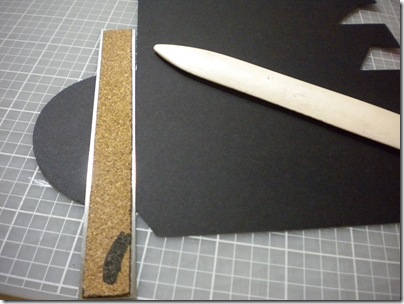
To adhere the top flap simply position and push down. I used my ruler to help push inside the pocket.
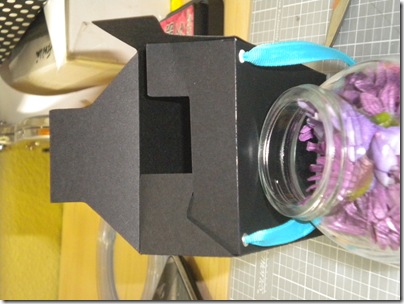
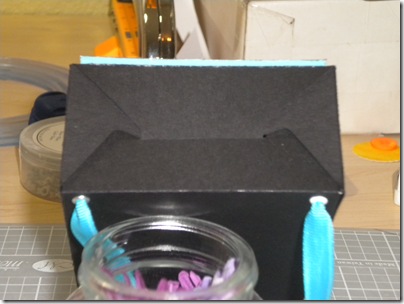
Hmmm... I am missing a photo! Now you want to create the box - simply put adhesive on the outside flap and attach to the inside of the box -- creating the rectangle. Then you will put the bottom of the box together. The U shaped piece folds in first then tuck the points of the sides under it and then the volcano piece tucks under everything.
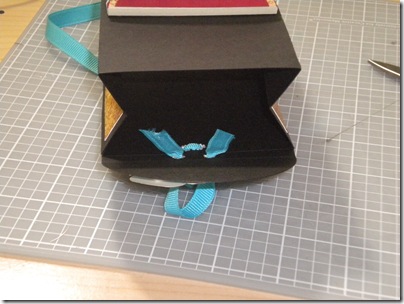
I finally realized that I needed the ribbon on the top. Since my box was already together it made it harder so the inside just got held in with adhesive - the Red Line adhesive... Terrifically Tacky Tape (my favorite!)
At this point I added a little bit of velcro to both flaps to keep down.
Here is a look at my finished project: 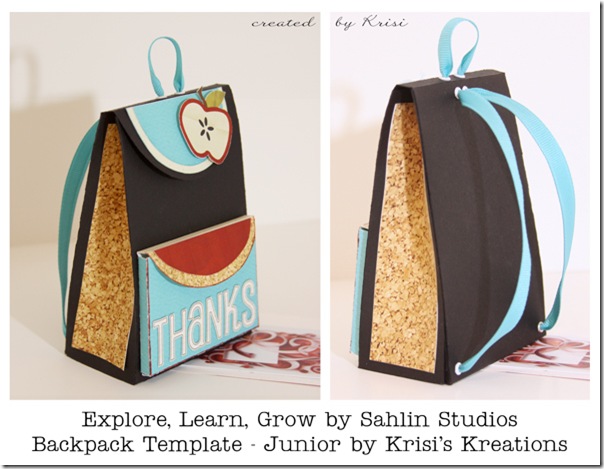
You can grab the backpack template HERE.
The Explore. Learn. Grow. backpack printable HERE.
To see other items available in my store just go HERE.
Ok... so as that helpful? Do you like seeing each step? Do you need more explanation on some things?
What template do you want to see the tutorial on?
Leave me a comment and let me know!





No comments:
Post a Comment